3D-Printed Massage Roller: Spiked PETG Roller on 608 Bearings
A handheld massage roller, designed from scratch and printed on an FDM printer. A roller covered in rows of small pyramid spikes turns on two ball bearings in the fork of a T-shaped handle.
It takes three printed parts and six small bought ones: two bearings, two brass heat-set inserts and two screws. Everything on this page describes the roller in the photos and in the video: its parts, its 3MF files and how it goes together.
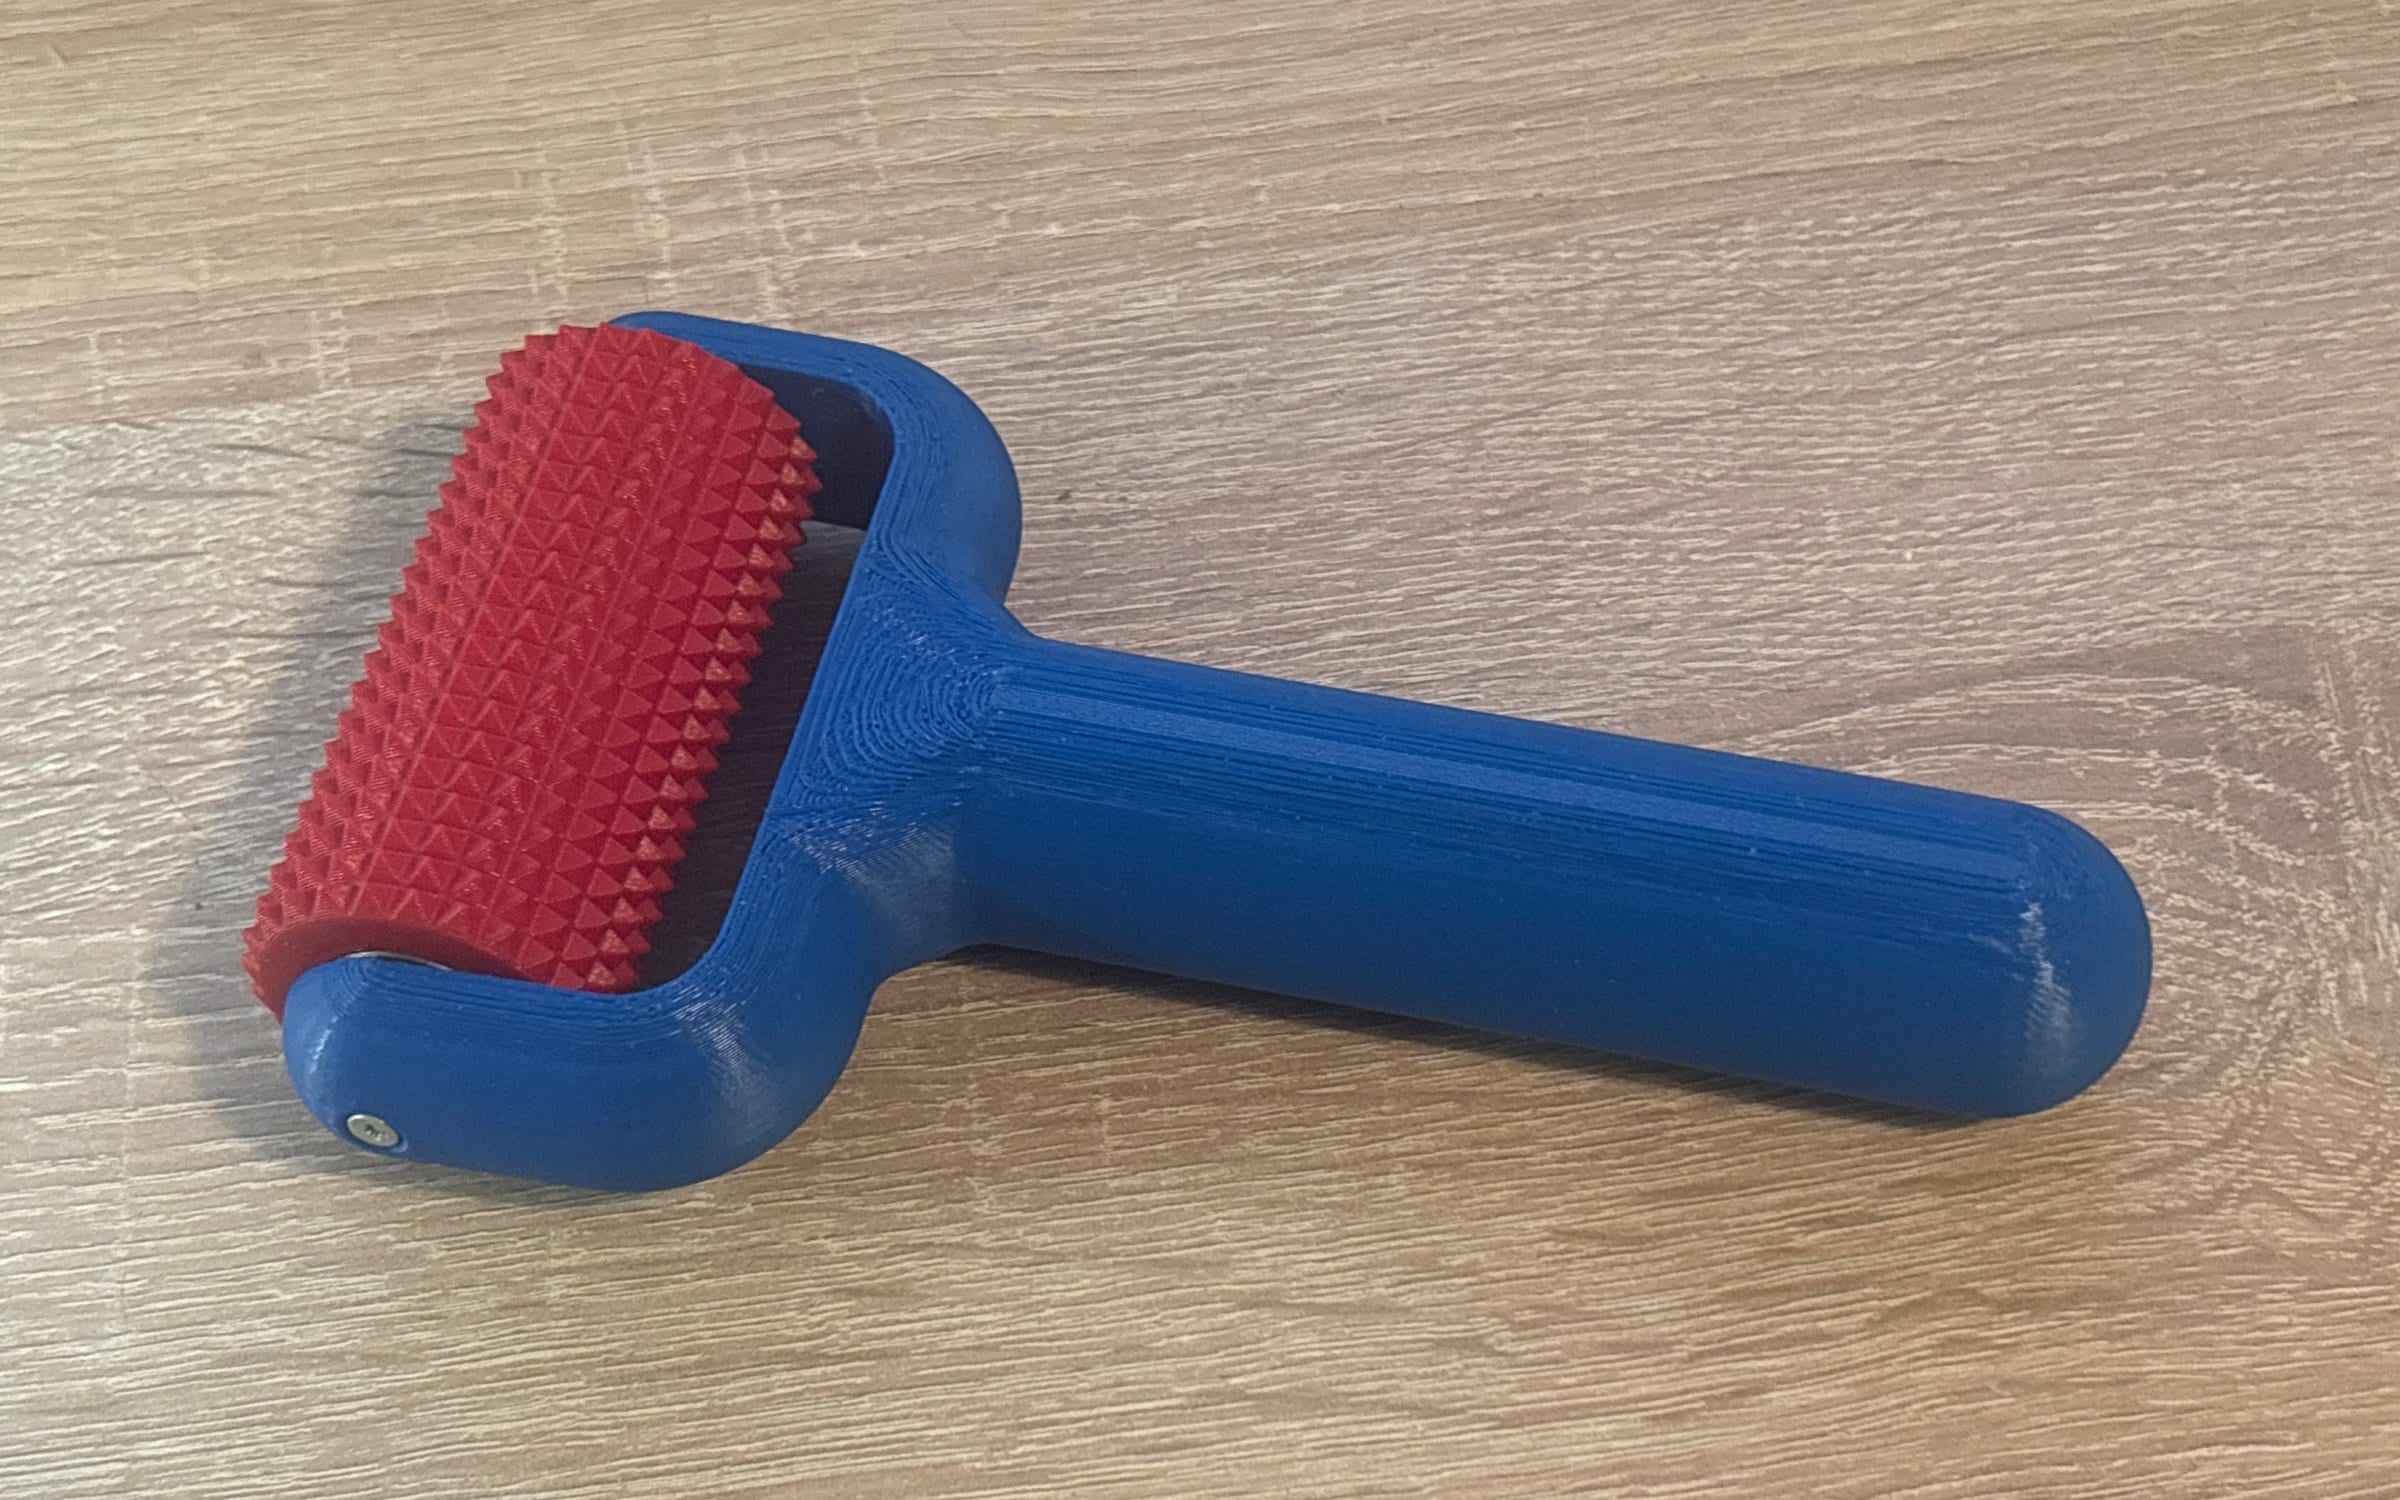
How it works
The roller does not turn on the axle itself. Two 608-2RS bearings sit inside it and ride on a printed axle, so the roller spins while the axle stays still.
The axle is held in the fork by two M3 screws. Each goes through one cheek of the fork into a brass heat-set insert melted into the end of the axle, so the screws bite into metal, not into plastic.
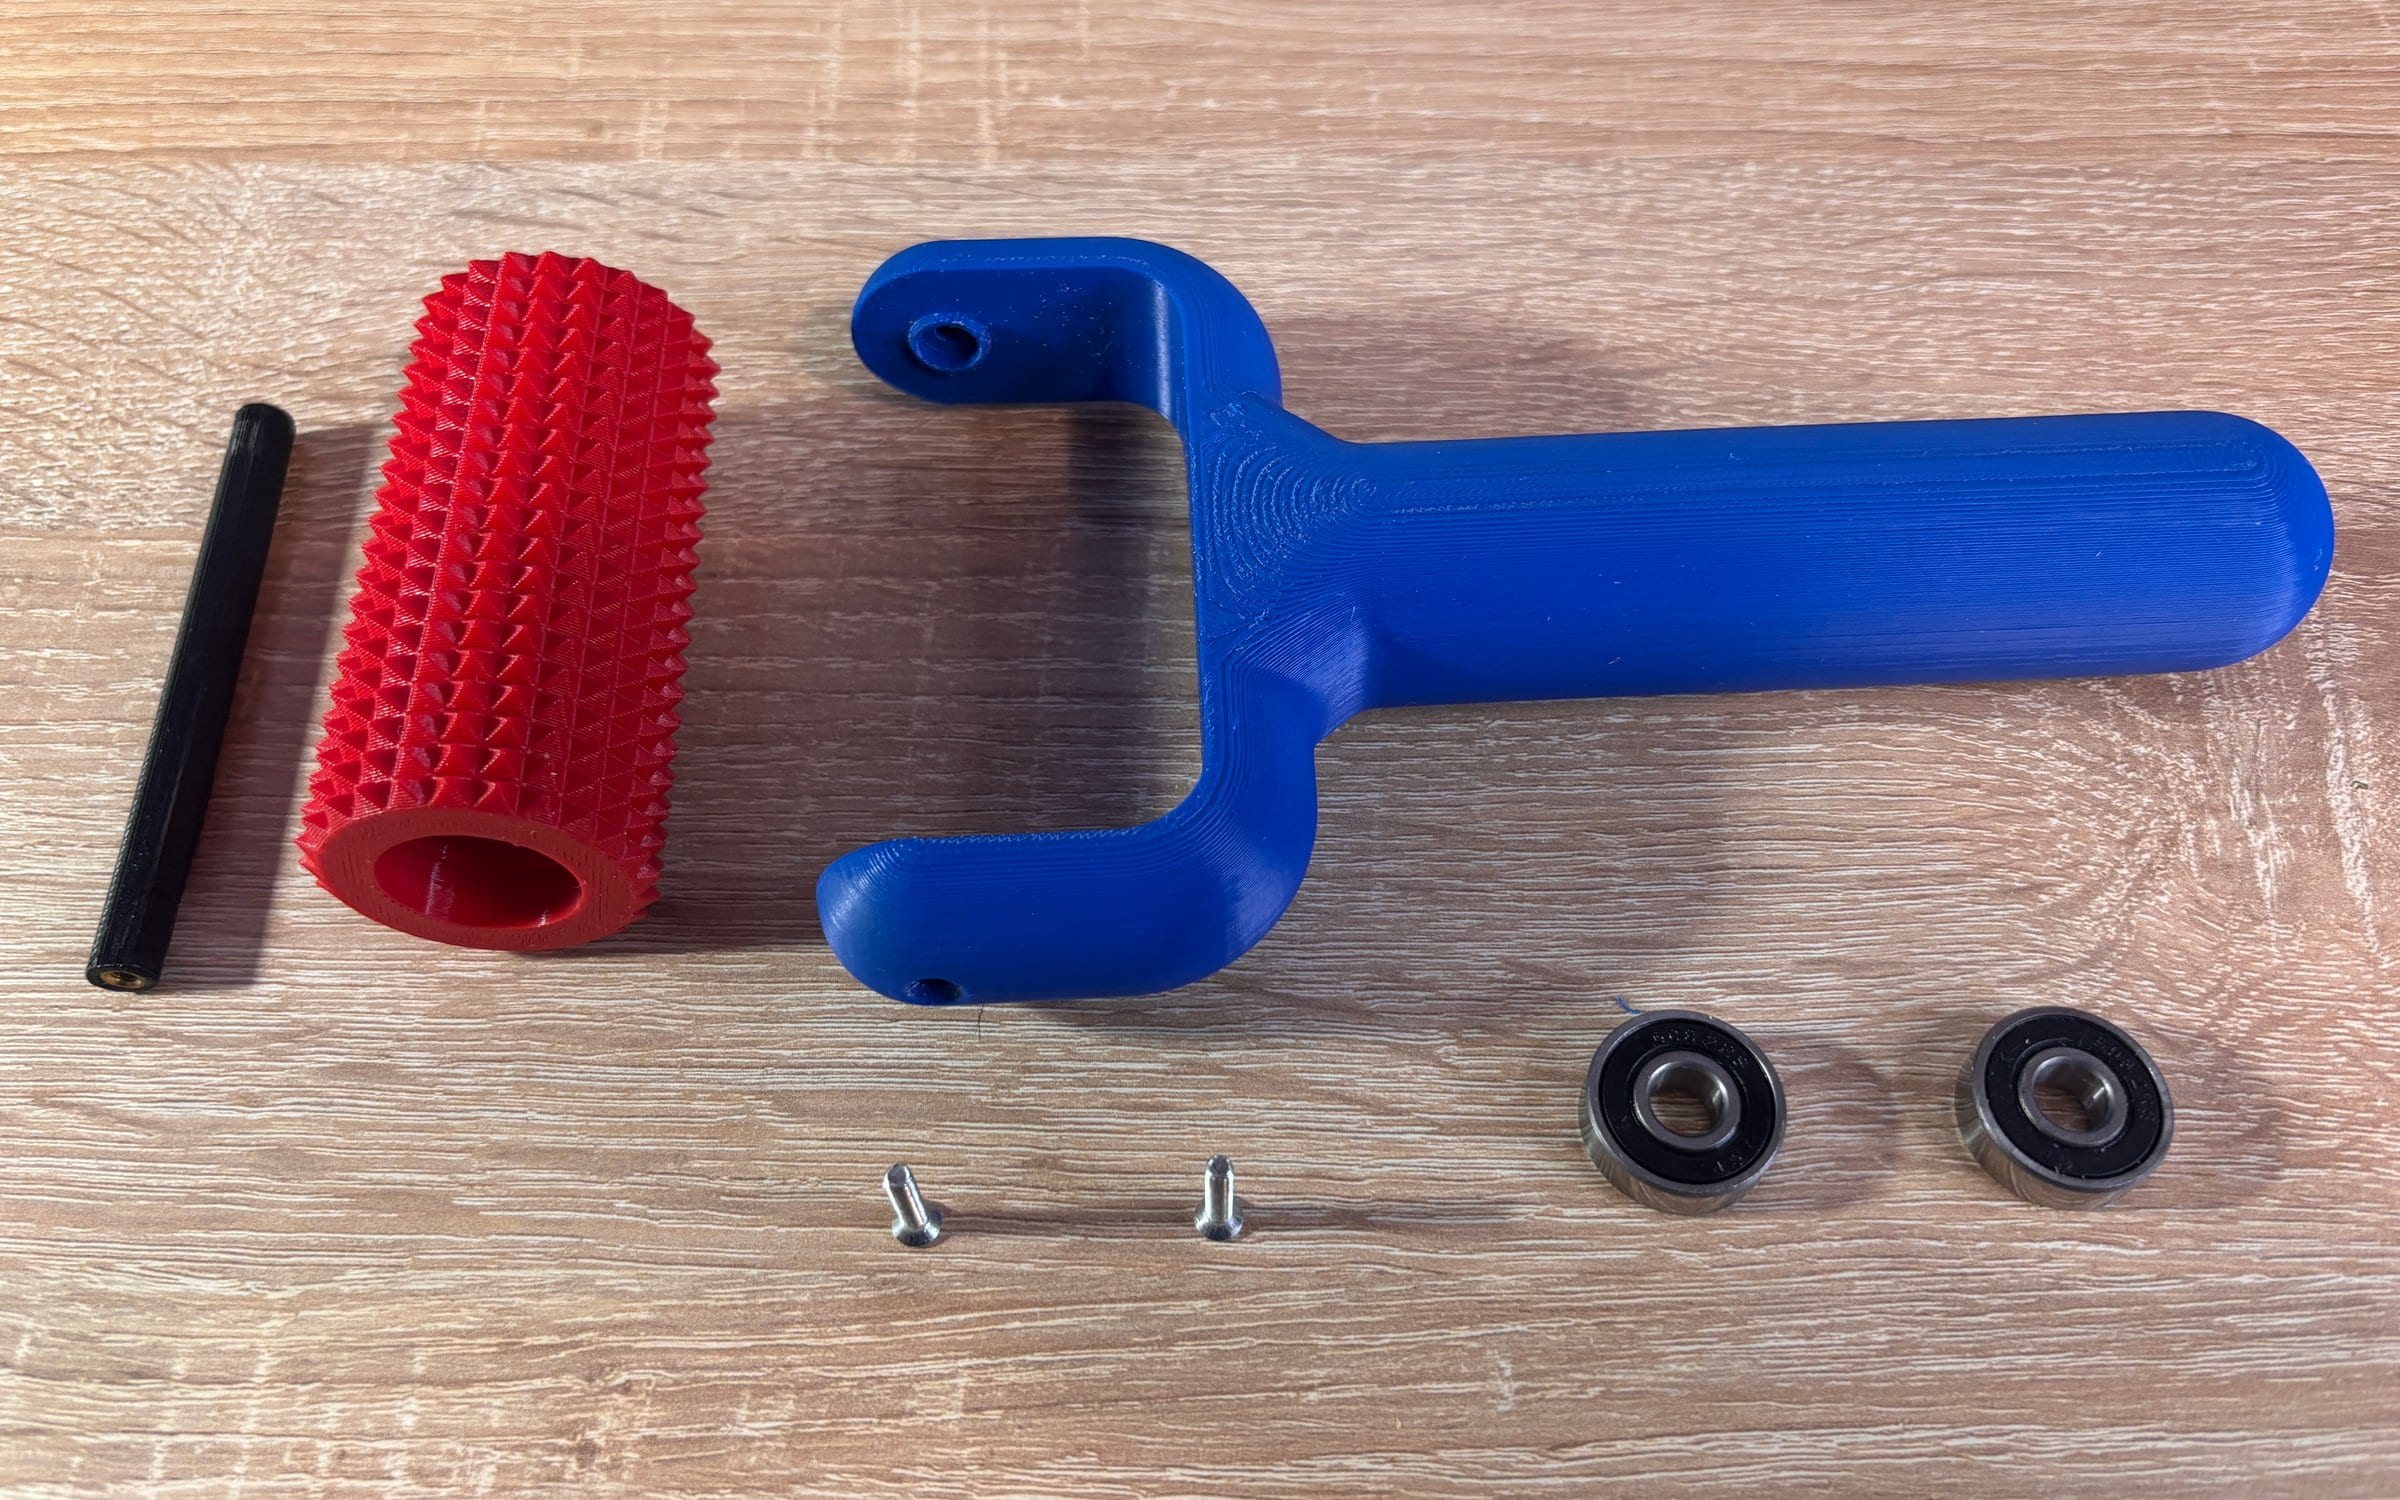
Parts
Three parts are printed; the rest is standard hardware.
| Qty | Part | Note |
|---|---|---|
| 1 | Spiked roller | Printed in PETG: a hollow tube under rows of pyramid spikes, ⌀39.7 mm over the spikes and 80 mm long. The bearings sit inside it. |
| 1 | Handle | Printed in PETG: a U-shaped fork on a long grip, 184 × 109 × 33 mm. |
| 1 | Axle | Printed in PETG, 86 mm long and 7.9 mm across — just under the 8 mm bore of the bearings. |
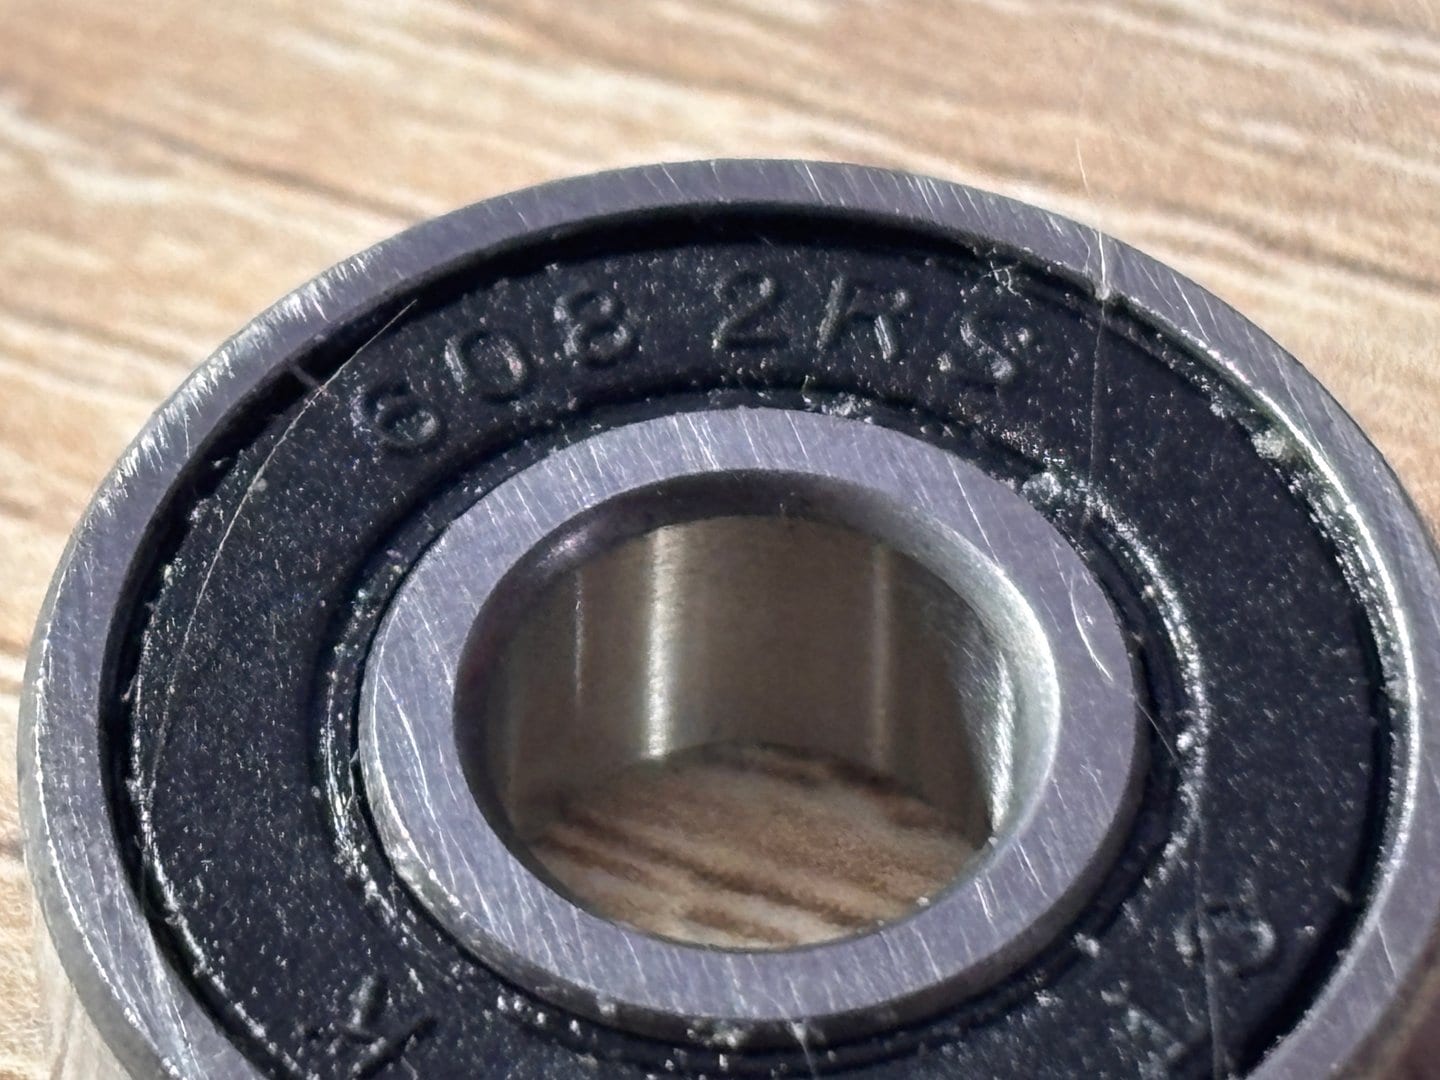
| 2 | 608-2RS ball bearing | 8 × 22 × 7 mm, sealed on both sides. The size skateboard wheels use, so easy to find. |
| 2 | M3 brass heat-set insert | Melted into the ends of the axle, one in each; they give the screws a metal thread. |
| 2 | M3 countersunk screw | One through each cheek of the fork into an insert. |
3D models
Every printed part, as it was designed. Drag a model to turn it, pick another one from the tabs, and take the files from the list under the view. A 3MF file keeps the millimetre scale and the colour each part was printed in, and all the common slicers open it.
Drag to turn, right-drag to move. Click the model, then scroll to zoom. Swipe sideways to turn, pinch to zoom. In full screen the model takes every gesture. Arrow keys turn the model, Shift with the arrows moves it, + and − zoom, 0 resets the view.
Printing
All three parts are printed in PETG on a Creality Ender-3 V3 KE: the roller in red, the handle in blue and the axle in black.
Assembly
- Melt an M3 heat-set insert into each end of the axle.
- Fit the two 608-2RS bearings into the roller.
- Push the axle through both bearings.
- Set the roller between the cheeks of the fork, line the axle up with the holes, and drive an M3 screw through each cheek into the insert behind it.
Video
The roller is the channel’s first Short: the whole build in under a minute.

Pressing play loads the video from YouTube. Privacy Policy